
Ottolenghi’s Garlic Tart
There are some weeks that demand comfort food. Also possibly a small kitchen project to distract from endlessly refreshing my news feed. Enter Yotam Ottolenghi’s garlic tart - cloves of garlic simmered in a balsamic syrup with fragrant herbs, layered on top of not one, but two kinds of goat cheese, all bathed in a creamy custard and baked in a crispy puff pastry shell. Sounds like comfort to me.

There are some weeks that demand comfort food. Also possibly a small kitchen project to distract from endlessly refreshing my news feed. Enter Yotam Ottolenghi’s garlic tart - cloves of garlic simmered in a balsamic syrup with fragrant herbs, layered on top of not one, but two kinds of goat cheese, all bathed in a creamy custard and baked in a crispy puff pastry shell. Sounds like comfort to me.


I say this is a project, but really there’s nothing that complicated here. It’s a little time consuming - there are a number of steps - but there are chunks of time between them. You don’t have to be active for the length of the recipe, but you have to be somewhat committed. It requires a fluted tart pan, which feels project-y. And I don’t work with puff pastry that much, and even when I use (perfect good enough) frozen puff pastry, I somehow manage to not be prepared to roll it out and then it gets too warm and chaos ensues. However, I’m happy to report that the puff pastry in this recipe requires minimal manipulation, and its use has the upside that you can use the scraps to make some airy Palmiers to snack on while the custard sets. I’ve included some hard-won tips on how to manage the pastry in the recipe if you, like me, find it a little challenging.


You’ll think you can eat this whole tart when it comes out of the oven looking and smelling gorgeous, and more power to you! But I couldn’t do it - it’s pretty rich. Happily, it keeps well for a couple of days and reheats beautifully - don’t be deterred by the soft pastry, it crisps right up with a little help from the oven.
Ottolenghi’s Garlic Tart
Time: 2 || Servings: 8 || Source: Plenty by Yotam Ottolenghi
Puff pastry - 13 oz (frozen and thawed in the refrigerator)
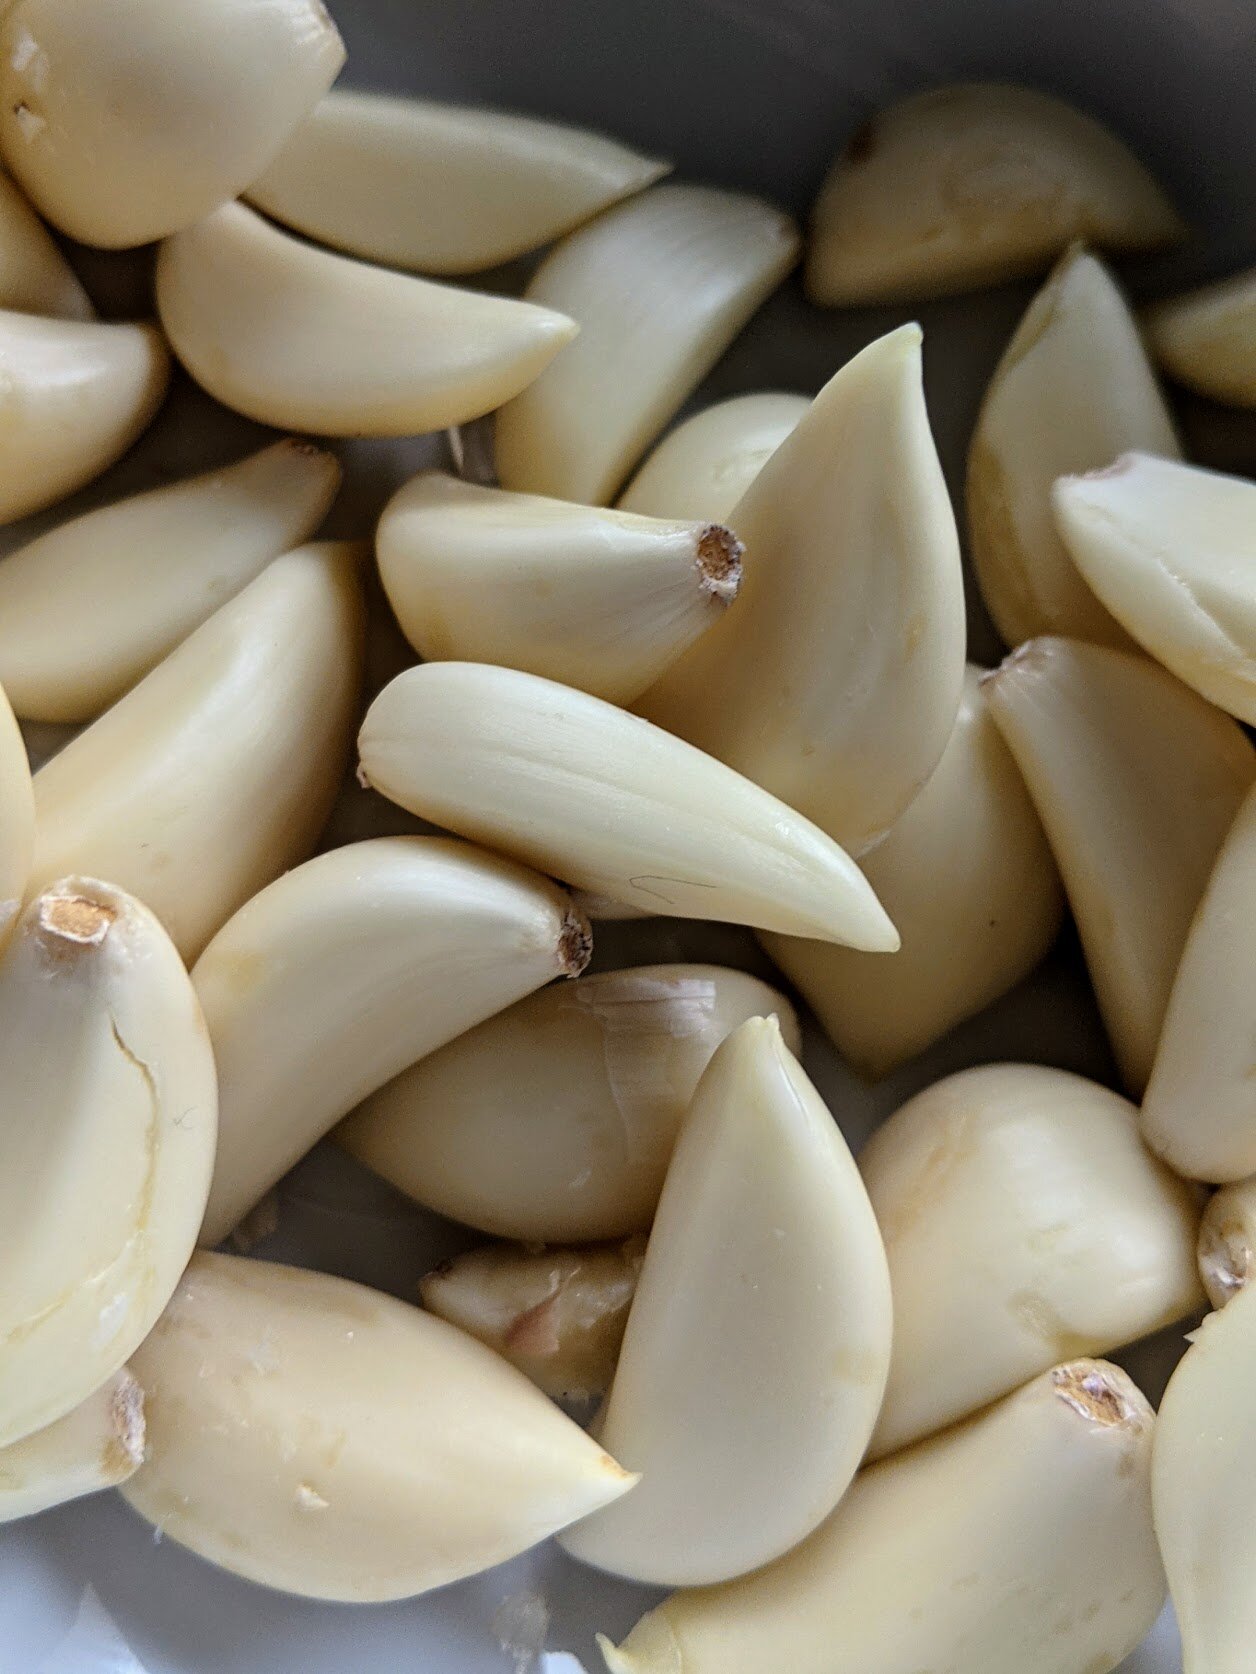
Garlic - 3 heads, cloves separated and peeled
Olive oil - 1 tbsp
Balsamic vinegar - 1 tbsp
Sugar - 3/4 tbsp
Rosemary - 1 tsp, chopped
Thyme - 1 tsp, chopped
Chevre or other soft, creamy goat cheese - 4.5 oz
Goat gouda or other hard, mature goat cheese - 4.5 oz,
Eggs - 2
Heavy cream - 6.5 tbsp
Creme fraiche - 6.5 tbsp
Salt & black pepper
If frozen, thaw your puff pastry in the refrigerator until it’s flexible, about four hours - if it’s too cold, it’ll tear.
Have on hand your 11 inch fluted tart pan, ideally with a loose bottom.
Read this section before you start working with the puff pastry if you’re not experienced: Lightly flour your work surface and rolling pin, then roll out the puff pastry into a circle that can line your tart pan with a little extra hanging over the sides - you can estimate this by placing your tart pan over your pastry and eyeing the size. When you’ve gotten to about the right size, place your rolling pin at the edge of the pastry. Roll the pin towards the center of the pastry without using pressure, bringing the edge of the pastry with the pin so it loops over it. At the end, part of the pastry should be folded over the rolling pin. This should allow you to lift the pastry with little pressure, reducing the risk of tearing. Lift the rolling pin over your tart pan and place the pastry in the pan. Gently press the pastry down into the bottom and sides of the pan. A little overhang is fine, but trim any very excessive pastry hanging out of the pan with some kitchen scissors.
Cover the pastry with parchment paper and fill the bottom with dried beans or pie weights. Let this rest in the refrigerator for 20 minutes, and preheat the oven to 350°F. (This is usually when I start peeling garlic!) After it’s rested, put the pastry in the oven and cook for 20 minutes, then remove the weights and paper and cook for an additional 5-10 minutes, until the pastry has turned golden. Set the pastry aside. Leave the oven on.
While the pastry is baking, put the garlic cloves in a small pan and cover with water. Bring this to a simmer and blanche the garlic cloves for three minutes, then drain. Dry the pan and put it on high heat. Return the garlic cloves to the pan and add the olive oil, frying for 2 minutes. Add the balsamic vinegar and 1 cup of water and bring to a gentle simmer for 10 minutes. Add sugar, rosemary, thyme, and 1/4 teaspoon of salt. Continue simmering for another 10 minutes. Remove from heat when the garlic cloves are coated in a dark syrup and most of the liquid has evaporated.
Final component: the custard. In a medium bowl whisk together eggs, heavy cream, crème fraiche, 1/2 teaspoon of salt, and some black pepper.
Return to your pastry shell for assembly. Crumble the soft and hard goat cheeses into the tart, distributing evenly around the shell. Pour the garlic and its syrup over the cheese. Pour the custard over the cheese and garlic, although you may not need all of it - you still want to see the garlic and cheese poking through the top.
When you’re ready to put the tart in the oven, reduce oven temperature to 325°F. Place tart in oven and bake for 35-45 minutes. The tart filling should be set and the top should be golden. Garnish with thyme sprigs if you’d like, and serve warm.
Goat Cheese & Roasted Garlic Toasts
We’ve been enjoying a lot of rich, meaty foods recently (see: bolognese, beef stew), but with warmer weather peeking through - including an incredible 70°F March birthday, thank you thank you - it felt time to go for something a little lighter. We’re not quite at zucchini season, so I turned to winter greens and some pantry staples for support.

We’ve been enjoying a lot of rich, meaty foods recently (see: bolognese, beef stew), but with warmer weather peeking through - including an incredible 70°F March birthday, thank you thank you - it felt time to go for something a little lighter. We’re not quite at zucchini season, so I turned to winter greens and some pantry staples for support.
I love garlic. It has a distinct flavor, as vampires can attest, but it’s so versatile: crush a clove and plop it in a yogurt sauce for subtle flavor, grate it into a dressing for a spicy punch, mince it with onions as a base for tomato sauce. Or, in this case, mellow it out to sweetness with a long roast and eat it directly out of its crinkly skins.


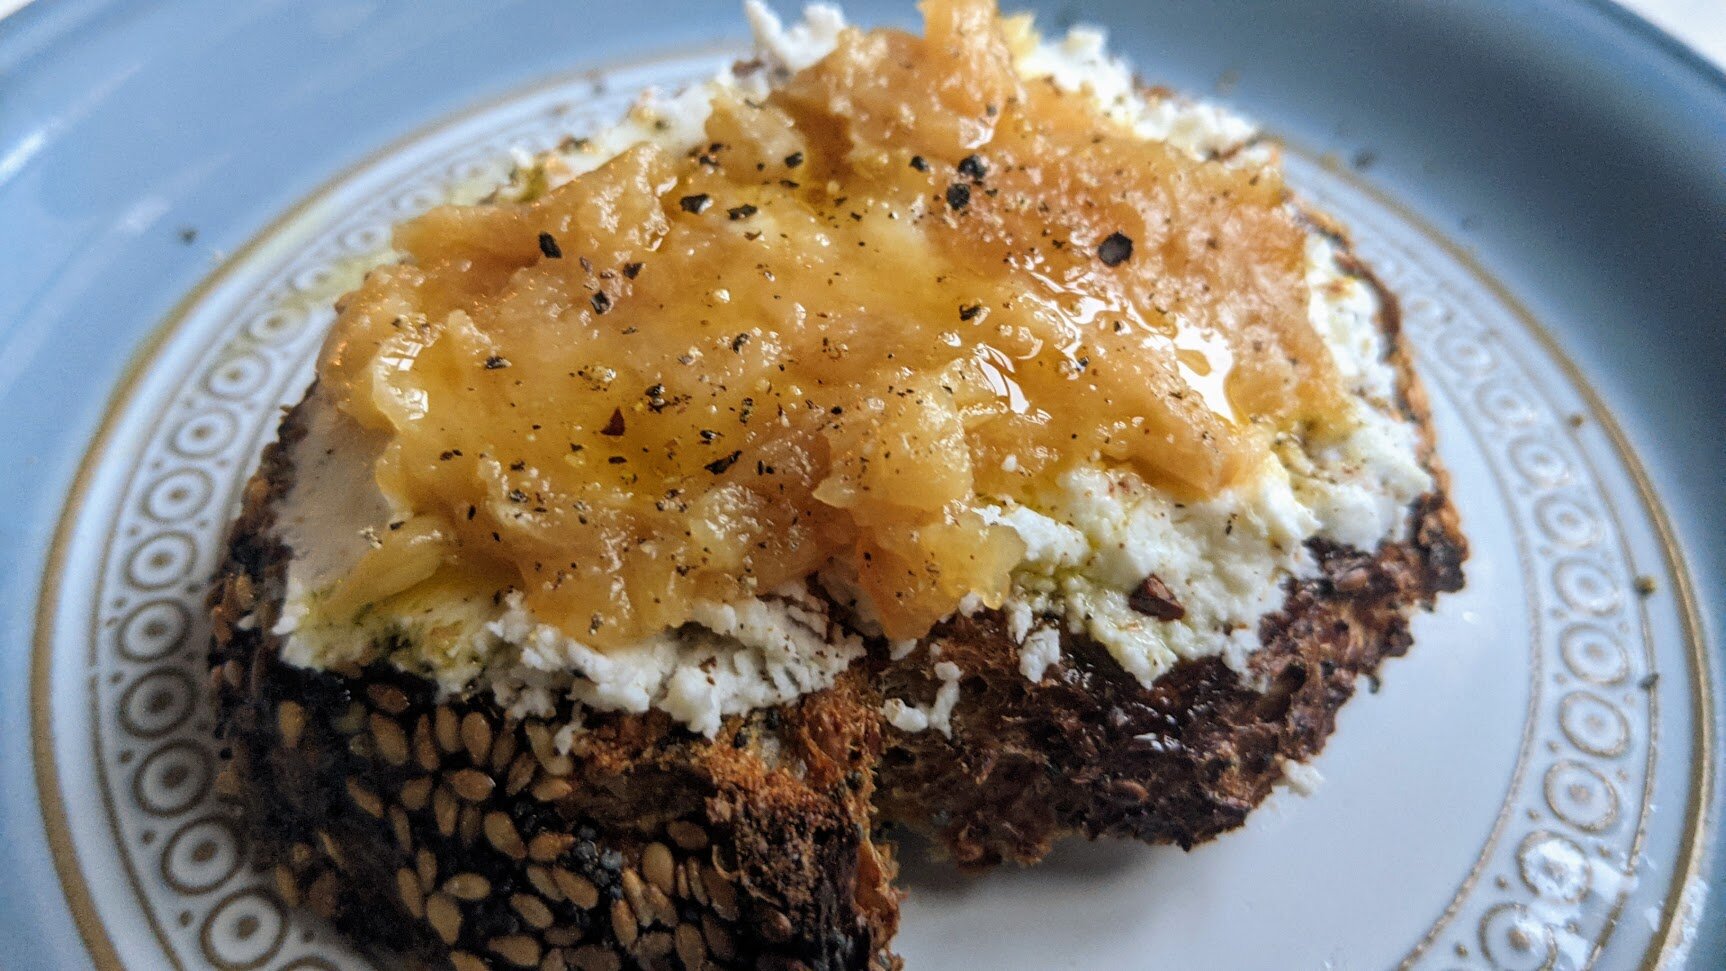
This toast is super simple and easy to prep ahead of time - and actually, you eliminate most of the prep if you just arrange the ingredients for a make-it-yourself experience. The garlic heads can be roasted anytime the day you’re planning to eat, making it easy to snag five minutes to get them in the oven. I used a seeded sourdough for this, but most toasted bread would work - I like having them be sort of crostini sized for easy assembly and consuming.


This is great for lunch with a salad, or bulk it out for dinner with more antipasti items, like raw or roasted vegetables, cured meats, olives, and, of course, wine.
Goat Cheese & Roasted Garlic Toasts
Time: 15 minutes active, 1 hour roasting || Servings: your call
Garlic heads - 1 per person
Olive oil
Goat cheese - 1-2 oz per person
Good bread, such as a baguette
Herbs, such as thyme or rosemary - optional
Salt & pepper
Roast the garlic. This can be done anytime the day you’re planning to eat. Heat the oven to 400°F. Slice about a half inch off the top of the garlic heads - the top of the garlic cloves should be visible. If not, slice a little more. Discard the tops. Place the garlic heads in a baking dish, cut side up. Drizzle the top lightly with olive oil and sprinkle with salt. Fill the baking dish about a quarter inch deep with water and cover tightly with foil. Roast in the oven for 45 minutes to 1 hour. When done, remove from the oven and remove the foil; the garlic should be soft and creamy. The garlic can sit at room temperature in its papery skin until you’re ready to use it.
When you’re closer to eating, put the goat cheese out to come to room temperature - this makes it easier to spread. Finely chop the herbs, if using, and combine with the goat cheese.
Cut the bread into pieces that are easy to pick up - slices for a baguette, or 1.5 inch squares for a boule. Toast the bread lightly.
You can assemble the toasts to serve, but I like putting all of the components out to let people assemble their own. This is how I assemble mine: I spread the goat cheese over the toast, then gently squeeze the bottom of the garlic cloves - they should squish right out. I spread the garlic over the goat cheese, then drizzle it with olive oil and sprinkle with chunky salt and a few grinds of black pepper.

Fresh Tomato Sauce
Summer is dwindling away and I am so excited for all the amazing fall produce that’s coming our way. I got some insanely good Wildfire Gala apples in my farm share (fun fact: these are one of the first apple varieties of the season). A little apple crisp à la Bittman combined with a drop in temperature was just what I needed to get me in the mood for autumn.

Summer is dwindling away and I am so excited for all the amazing fall produce that’s coming our way. I got some insanely good Wildfire Gala apples in my farm share (fun fact: these are one of the first apple varieties of the season). A little apple crisp à la Bittman combined with a drop in temperature was just what I needed to get me in the mood for autumn.
But before we kick summer to the curb, it’s time for a last hurrah with gorgeous late-season tomatoes. Those tomatoes have been so good to us all summer - sliced and salted with some olive oil (or not); chunkily chopped on bread with lettuce and mayo, maybe some bacon, because bacon; diced with garlic and basil for easy peasy bruschetta… I might just shed a tear.


One of the simplest ways to enjoy fresh tomatoes is to make a straightforward tomato sauce. This summer, I’ve been loving a raw tomato sauce: olive oil lazily infused with some smashed garlic cloves and basil all day, then, a couple of hours before eating, mix in tomatoes that have been chopped and salted. Drop in some pasta and maybe some fresh mozzarella and you have a meal. Sometimes, though, I want something a little smoother and, frankly, a little more freezable. (I’ve never canned anything in my life - the idea that I would do it wrong, contaminate my family’s food, and make everyone sick haunts me - but it might just be time to start looking into it because my freezer is full to bursting.)
This tomato sauce is a little more complex, but it doesn’t detract from the tomatoes on bit - and it’s well worth it. It only takes about 15 minutes of hands on time, and then it can simmer away unattended for quite a while if you’d like to really develop the flavor. I don’t mind keeping it short and sweet - I rarely have a lengthy prep time before blood sugar levels drop dangerously in my household - and this sauce doesn’t suffer from having a bit of fresh tomatoeyness about it.


I’m always pretty excited about eating a giant bowl of pasta, and cheese is definitely a factor in that. I maybe have gone a little overboard with two cheeses in the sauce and one on top, but go big or go home. I used both Parmigiano-Reggiano and Pecorino Romano in the sauce as almost a seasoning. These are two delicious, highly regulated Italian cheeses, made from cow and sheep’s milk respectively. From its nubby size, you may detect that I use Parmigiano quite a bit - it’s nutty and it adds umami to whatever it touches. Pecorino is a bit more unique, salty with a tang from the sheep’s milk. Finally, to get creaminess and that cheese pull that will follow you into your dreams, top steaming pasta with fresh mozzarella.
You can use less cheese if you really want. And would this still be very good with a high quality canned tomato? Absolutely, and I don’t doubt I’ll be doing that in a couple of months. Similarly, you could substitute dried oregano and basil for the fresh, keeping in mind that dried herbs have a much more concentrated flavor (roughly substitute 1 tsp dried herb per 1 tbsp fresh herb). Make this your own: add more garlic; change up the herbs; leave your sauce chunky. Personally, I recommend all the cheese.
Fresh Tomato Sauce
Servings: 4-6 || Time: 45 mins || Inspiration: Summer tomatoes
Olive oil - 2 tbsp
Onion - 1 medium, diced
Garlic - 2 cloves, minced or crushed
Fresh tomatoes - 1.5 lbs, roughly chopped
Fresh herbs, such as oregano, thyme, basil - 1 tbsp each, chopped
Parmigiano-reggiano - 2 tbsp, grated
Pecorino-romano - 2 tbsp, grated
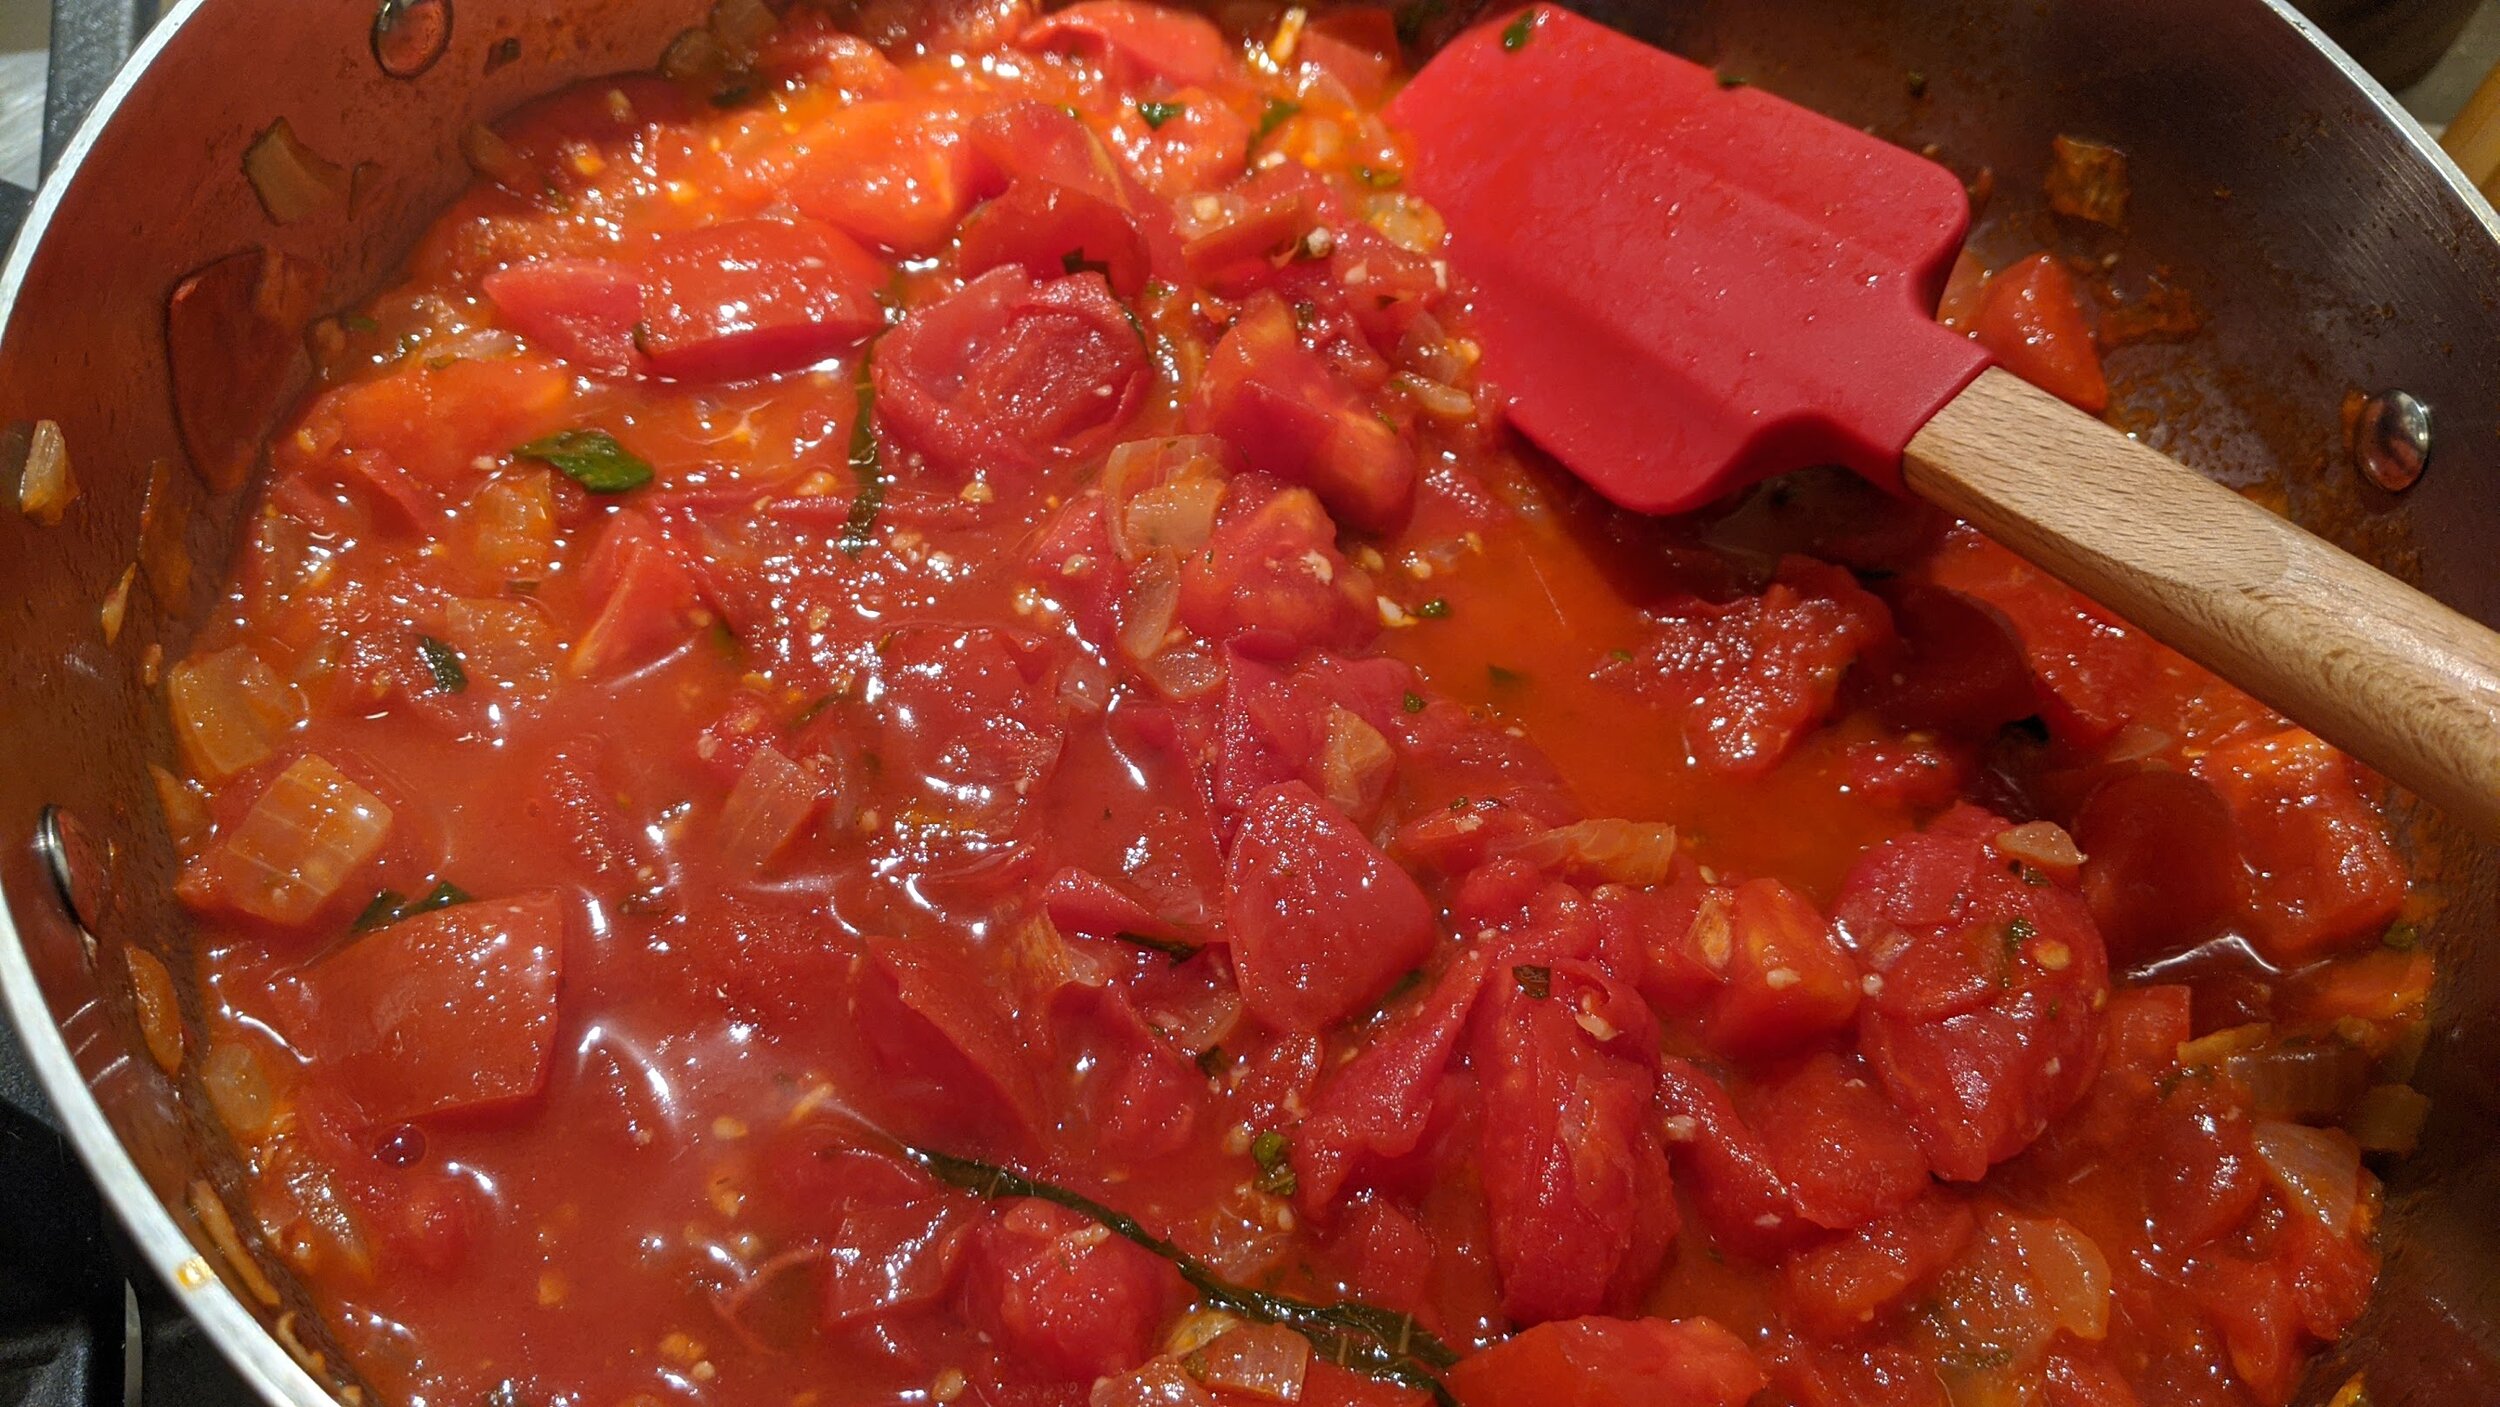
Heat olive oil in a medium-large skillet or saucepan over medium heat. Add onion and sauté until it begins to turn translucent. Add garlic. Once garlic has turned golden, but before it browns, add the tomatoes and fresh herbs of your choice. Season with salt and pepper.
Turn heat to medium-high and cook, stirring occasionally, until tomatoes have begun to break down and release their juices.
Bring to a low simmer and cook 15 minutes more, until tomatoes are very broken up and a sauce begins to form. You may continue to cook past this point, for 30 minutes more - if at any point the pan looks dry, add water to prevent burning or sticking. When sauce is cooked to your liking, stir in the cheeses.
For a smoother sauce, pass through a food mill (I used the coarsest grind) or blend in a food processor.
Toss sauce with your favorite pasta and top with chopped or torn mozzarella. Or freeze to lock away a little bit of summer.

Use-Up-Your-Vegetables Pasta
Sometimes you make something that is just so so good you can’t possibly imagine what else you could be making for dinner because why in the world would you eat something else when you could be eating THIS?
Since this is our third time making this dish this week, I would say we’re pretty solidly in the realm of obsession.

I’ve mentioned previously that we’ve been having a glut of corn, and now the tomatoes have piled up as well. Not that I’m complaining about too much deliciousness cluttering my counter - I know I’ll mock this “problem” of late summer bounty when we’re in the deep dark depths of winter. And yes, yes, I know I can absolutely make a simple tomato sauce that will freeze beautifully and - once rediscovered, thawed, and tossed with pasta one frosty December day - will make my eyes tear up with memories of beach days and tank tops. But that doesn’t so much solve the problem of dinner tonight. And, so was born Use-Up-Your-Vegetables pasta.


Is this really a recipe? I don’t know. Is it an ode to all the flavors of summer, a true honor to corn, eggplant, and tomatoes? YES.
At its core, this “recipe” is no more than sautéing a few gorgeous vegetables - corn, eggplant, onion, garlic, tomato - in olive oil, smothering them with cheese, and tossing them with pasta. Incredibly easy and incredibly satisfying.
“But I don’t have corn,” you say, smugly surveying your gleaming, cornsilk-free countertops. No problem! in the spirit of using up your vegetables, use what you have on hand. Skip the corn, add the green beans. Got zucchini? Wonderful, toss it in! You can’t really go wrong with bright, fresh summer vegetables. I kind of think you’ll be obsessed with this, too.
Use-Up-Your-Vegetables Pasta
Servings: 4-6 || Time: 30 minutes || Inspiration: Late summer vegetable bounty
Olive oil - 2-4 tbsp
Onion, white or yellow - 1 small, diced
Corn kernels - about 1 cup, cut from 2 ears of corn (frozen could work)
Eggplant - 1 medium, diced
Garlic - 2 cloves, minced
Tomatoes - 3 medium, diced
Farfalle pasta or other forkable shape - 1 lb
Parmesan - grated, to taste
Herbs, like basil, parsley, cilantro, or tarragon for garnish
Set a large pot of salted water over high heat to come to a boil.
Meanwhile, set a large skillet over medium heat. Add olive oil and heat until shimmering. Add onion and sauté until it begins to turn translucent. Add corn kernels, season with salt and pepper, and sauté until they start to brown. Add eggplant and season once more. The eggplant will absorb a lot of the oil, so add a bit more if needed to prevent burning. Cook, stirring occasionally, until eggplant is browned. Add garlic, sauté until fragrant, then add tomatoes. Continue to cook, stirring here and there, for 10-15 minutes more while the pasta cooks. Turn down heat as necessary to maintain a low simmer.
Once water is boiling, add pasta and cook until al dente. Drain pasta, reserving 1/2 cup of pasta water, and add to sauce. Toss the sauce and the pasta together. Transfer to a bowl.
Top pasta with Parmesan. Your sauce may need a little help to get saucy and marry with the pasta, especially if you use a less juicy type of tomato, like plum tomatoes. Add pasta water to the bowl, using a 1/4 cup at a time, and toss with pasta until you get a satisfying squelchy sound and the pasta looks well coated with sauce. Top with perhaps a little more cheese (why not?) and the chopped herbs of your choice.