Goat Cheese Tortilla Casserole
I’ve been watching a lot of Beat Bobby Flay lately. It’s might be a little unhealthy. This is the premise of the show: Two professional chefs compete against each other for a chance to compete against Bobby. Two supposed friends of Bobby’s choose the winner of that matchup, and then the winning chef announces a signature dish that they and Bobby Flay will each make in a head-to-head competition. And then Bobby wins. The end.

I’ve been watching a lot of Beat Bobby Flay lately. It’s might be a little unhealthy. This is the premise of the show: Two professional chefs compete against each other for a chance to compete against Bobby. Two supposed friends of Bobby’s choose the winner of that matchup, and then the winning chef announces a signature dish that they and Bobby Flay will each make in a head-to-head competition. And then Bobby wins. The end.
The winning chef knows ahead of time what they’re going to be making and, one must assume, have selected something they make really well and probably practiced a lot. And then Bobby has to make it, whatever it is, on the fly - admittedly, in a kitchen he knows well, in a setting and under time pressure that he’s really familiar with. But still. Sometimes it’s something like enchiladas, and then you’re yelling at the screen, why why why would you choose something in his wheelhouse? You think you can beat him at his own game? Did you even watch the show before you signed up??? And then sometimes it’s something like goulash or spätzle and you think, absolutely no way he’ll win - and then he does. (I saw through an unreliable source that Bobby only has a 65% winning record over 18 seasons, but the only explanation I have for this is that he must have gotten better over time and his winning rate is much, much higher in recent seasons.)
If you don’t know the show, you should probably stop reading this and go watch it right now. I can wait.


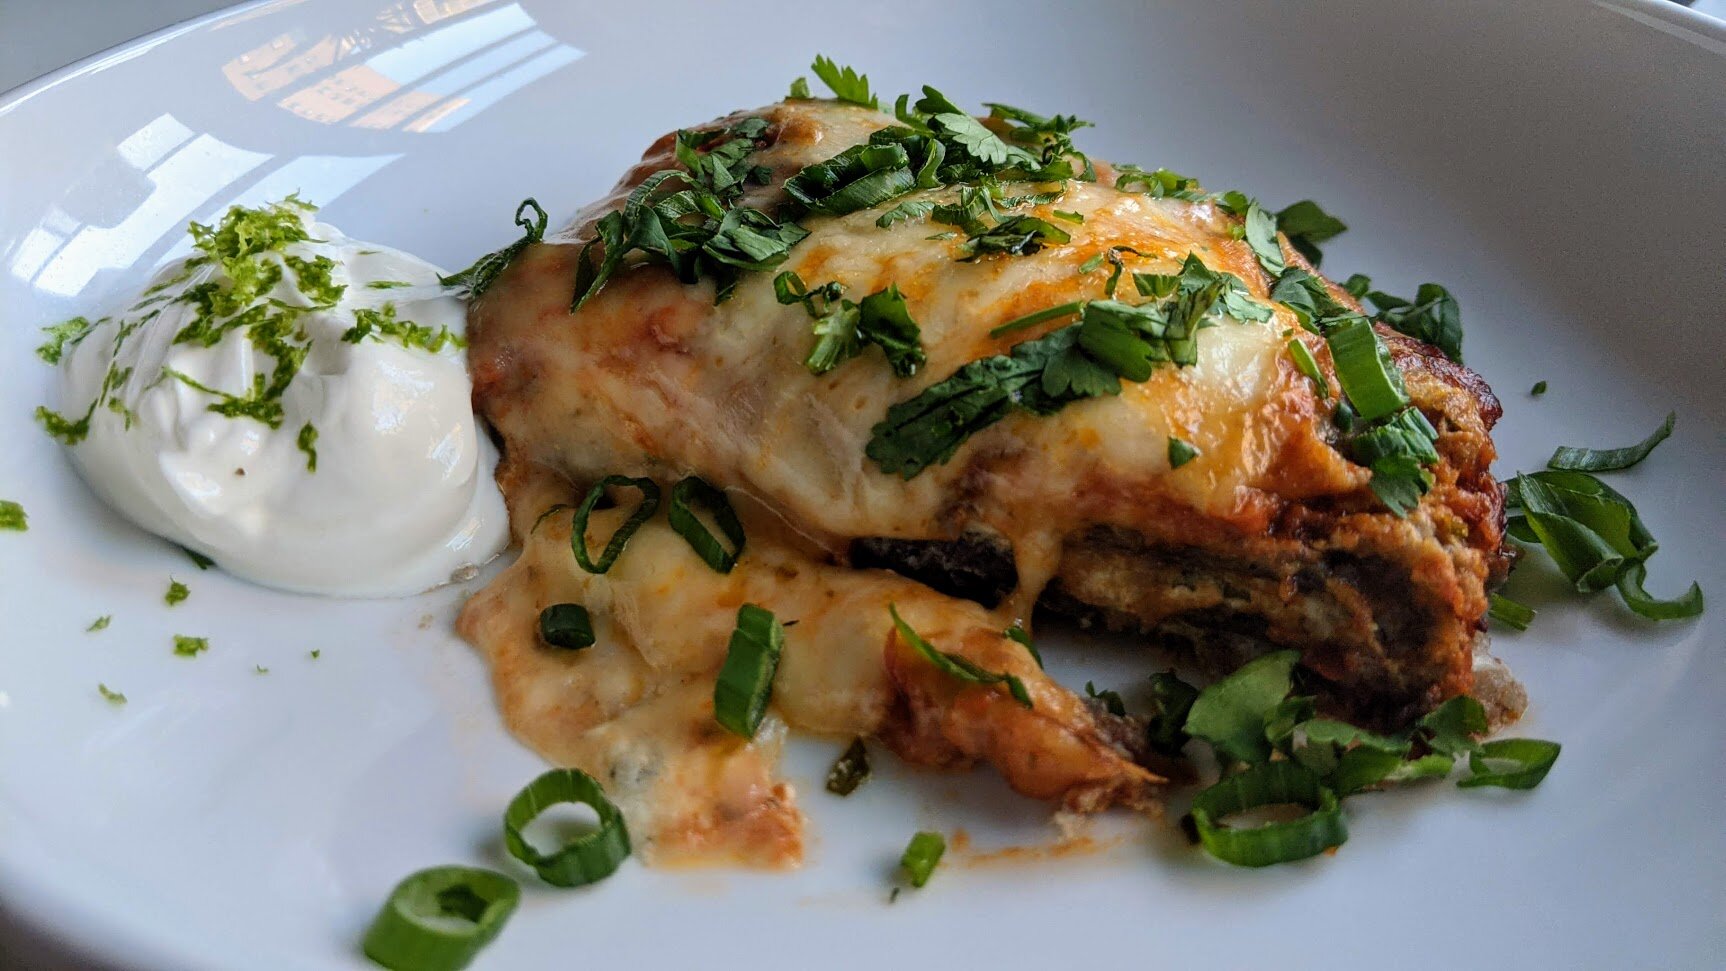
So, for no particular reason, I was looking into Bobby Flay’s recipes and am happy to share this goat cheese-enchiladas-turned-casserole. I know goat cheese enchiladas sound strange, but if you like cheese (I do) and if you’re okay with this being pretty rich (I am), then you’re going to like this recipe. The goat cheese is spiked with lime juice and garlic and blended until light and fluffy, then folded with spices and herbs. That goat cheese delight is stacked with blue corn tortillas in a casserole dish, smothered in a homemade tomato-chile sauce, and tucked into a cozy blanket of Monterey jack cheese. (I did warn you that it’s rich.)


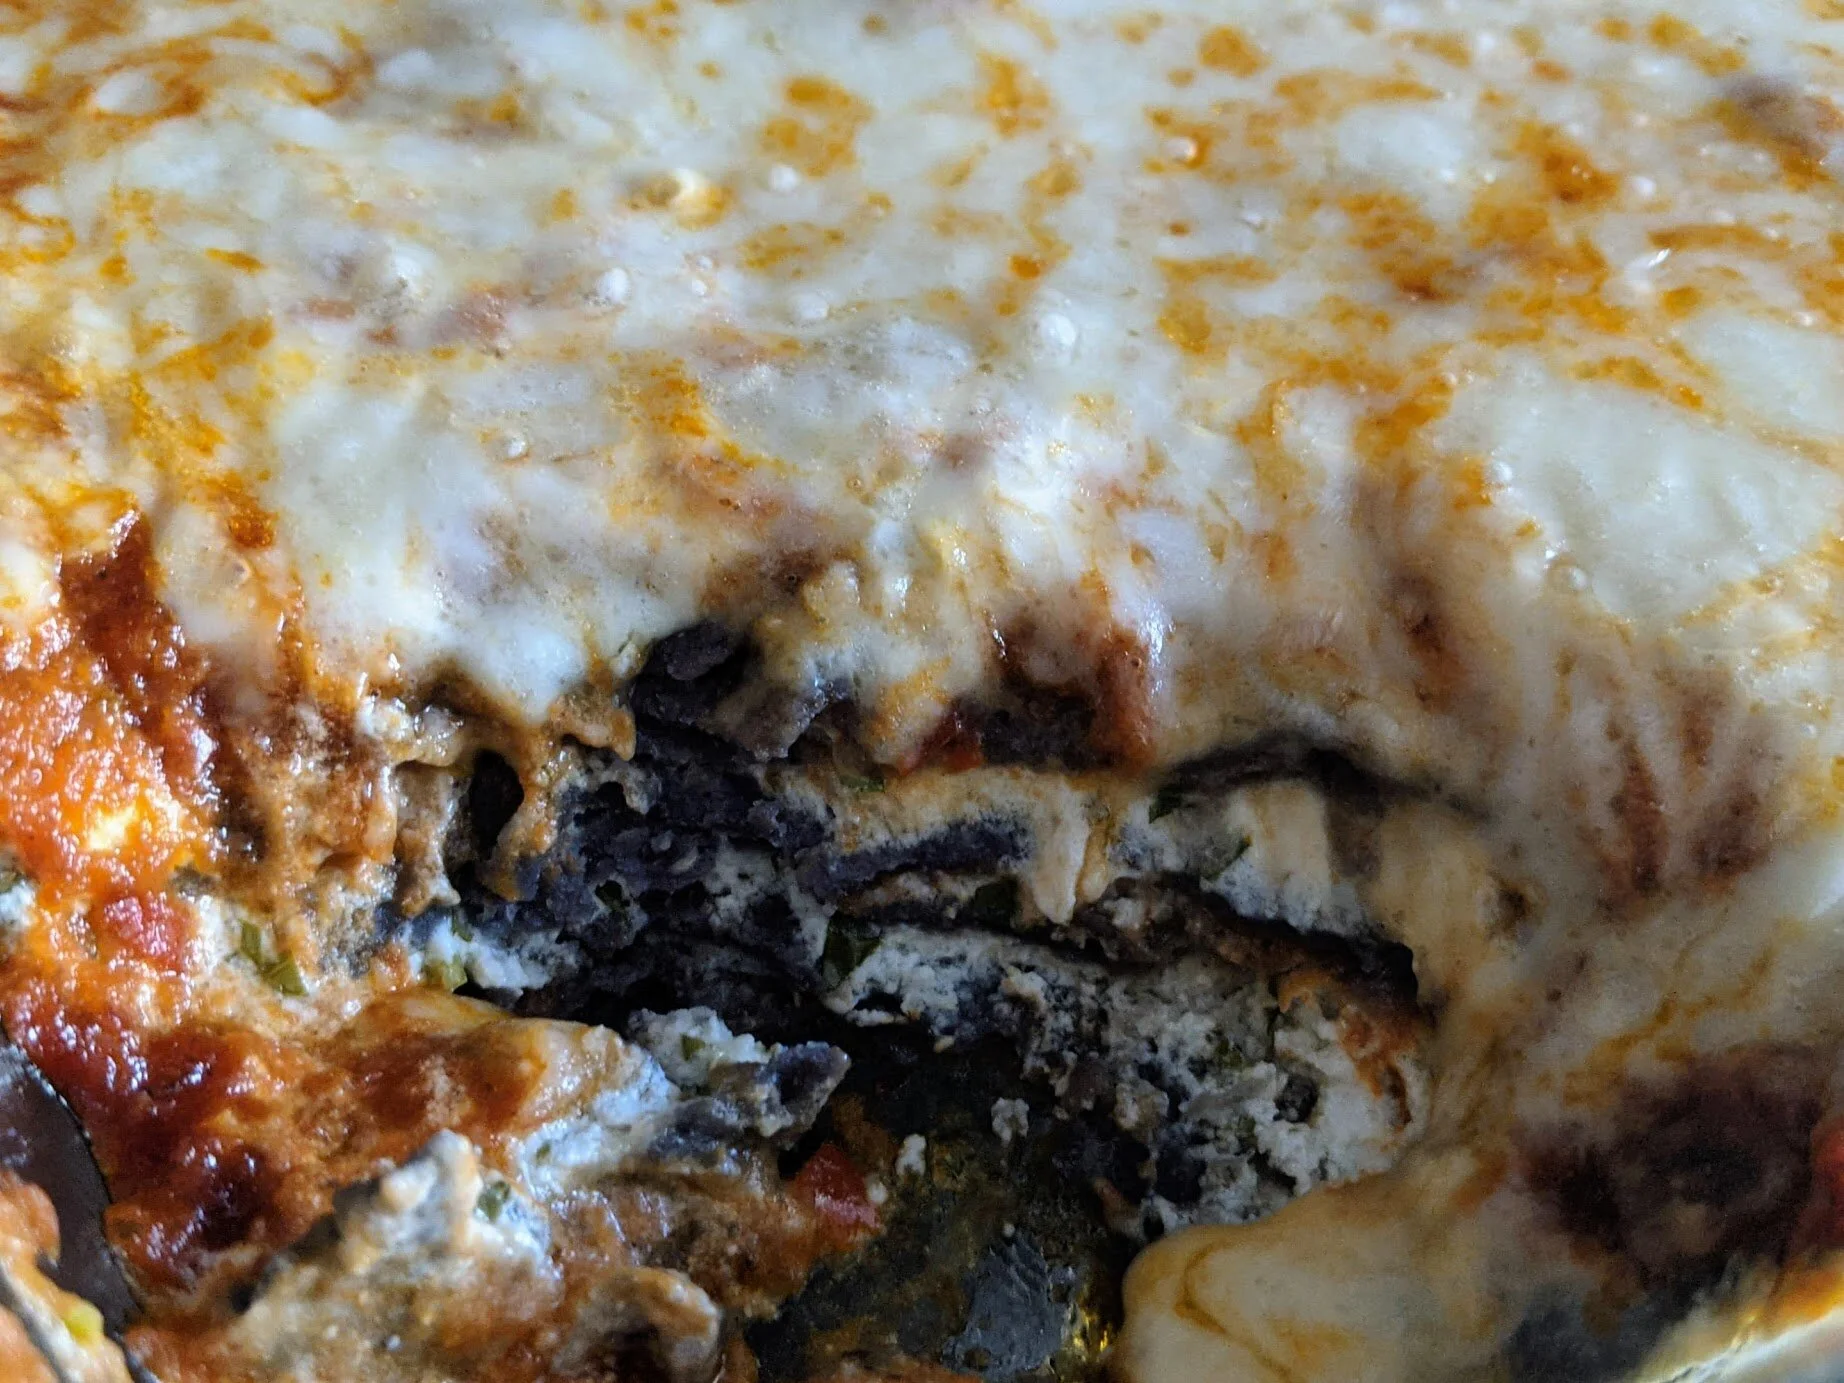
This dish is a bit of an effort - there are two components to make before you assemble the casserole - but it’s worth it for the ooey gooey cheesy outcome. Rice and beans are highly recommended as a side, as is a green salad with a bright dressing to cut the richness.
Goat Cheese Tortilla Casserole
Time: 1.5 hours + 30 mins inactive || Servings: 4-6 || Source: Adapted from Bobby Flay
For the chile sauce:
Ancho chiles - 3
Vegetable oil - 3 tbsp
Red onion - 1 large, finely chopped
Garlic cloves - 3, chopped
Cumin - 1 tbsp
Mexican oregano or regular oregano - 1 tbsp
White wine - 1 cup
Canned tomatoes - 2 cans, 28 oz
Chicken or vegetable stock - 3 cups
Honey - 1-2 tbsp
For the filling:
Soft goat cheese - 1 1/4 lb
Garlic - 3 cloves, coarsely chopped
Cotija cheese - 1/4c, grated
Lime juice - 2 tbsp, more to taste
Cilantro leaves - 1/4c, finely chopped
For assembly:
Blue corn tortillas - 12
Monterey jack - 8 oz, grated
Cilantro - 3 tbsp, chopped
Sour cream, for garnish (mix with lime zest if you’re feeling fancy)
Scallions, sliced thinly, for garnish
Limes, for garnish
Make the chile sauce.
In a small saucepan, bring 2 cups of water to a boil. When boiling, remove from heat and add chiles. Let sit for 30 minutes (longer is okay, if needed). Remove the stems and seeds from the chiles, then place them in a food processor or blender with 1/4 cup of the soaking liquid. Puree until smooth.
In a medium skillet, heat vegetable oil over medium-high. Add onion and cook until soft, 5-7 minutes. Add garlic and cook for another minute, until fragrant. Lower heat if necessary to prevent it from burning. Add cumin and oregano and cook for another minute, until fragrant. Add the ancho puree and cook for another 3 minutes. Add wine, canned tomatoes, and stock to the pan. Raise the heat to bring to a boil and then reduce to a simmer. Allow to simmer for 30 minutes, until slightly thickened. Add salt and pepper, then taste. Add more seasoning as necessary, as well as honey, until you’re satisfied with the flavor.
You can leave the sauce as is if you like it chunky, or puree in a food processor, blender, or with an immersion blender for a smoother texture.
Make the filling.
Place the goat cheese, garlic, cotija cheese, and lime juice in a food processor or blender. Process until smooth and fluffy; this may take a few minutes. Season with salt and pepper, and fold in the chopped cilantro. Taste and adjust seasoning.
Assemble the casserole.
Heat the oven to 375°F.
Spread 1/2 cup or so of the chile sauce on the bottom of a casserole dish. Place three tortillas in the pan, slightly overlapping. You may want to cut the tortillas to get more pan coverage, but this isn’t strictly necessary. Spread 1/2 cup of the sauce over the tortillas, then spread the goat cheese. Top with two more layers, repeating tortillas, sauce, and cheese. Top with a final layer of tortillas, another generous layer of sauce, and the Monterey jack cheese.
Bake for 20 to 30 minutes, until the enchiladas are heated through and the cheese is melted. Remove from the oven. Serve sprinkled with cilantro and scallions, a dollop of sour cream, and a lime wedge.

Ottolenghi’s Garlic Tart
There are some weeks that demand comfort food. Also possibly a small kitchen project to distract from endlessly refreshing my news feed. Enter Yotam Ottolenghi’s garlic tart - cloves of garlic simmered in a balsamic syrup with fragrant herbs, layered on top of not one, but two kinds of goat cheese, all bathed in a creamy custard and baked in a crispy puff pastry shell. Sounds like comfort to me.

There are some weeks that demand comfort food. Also possibly a small kitchen project to distract from endlessly refreshing my news feed. Enter Yotam Ottolenghi’s garlic tart - cloves of garlic simmered in a balsamic syrup with fragrant herbs, layered on top of not one, but two kinds of goat cheese, all bathed in a creamy custard and baked in a crispy puff pastry shell. Sounds like comfort to me.


I say this is a project, but really there’s nothing that complicated here. It’s a little time consuming - there are a number of steps - but there are chunks of time between them. You don’t have to be active for the length of the recipe, but you have to be somewhat committed. It requires a fluted tart pan, which feels project-y. And I don’t work with puff pastry that much, and even when I use (perfect good enough) frozen puff pastry, I somehow manage to not be prepared to roll it out and then it gets too warm and chaos ensues. However, I’m happy to report that the puff pastry in this recipe requires minimal manipulation, and its use has the upside that you can use the scraps to make some airy Palmiers to snack on while the custard sets. I’ve included some hard-won tips on how to manage the pastry in the recipe if you, like me, find it a little challenging.


You’ll think you can eat this whole tart when it comes out of the oven looking and smelling gorgeous, and more power to you! But I couldn’t do it - it’s pretty rich. Happily, it keeps well for a couple of days and reheats beautifully - don’t be deterred by the soft pastry, it crisps right up with a little help from the oven.
Ottolenghi’s Garlic Tart
Time: 2 || Servings: 8 || Source: Plenty by Yotam Ottolenghi
Puff pastry - 13 oz (frozen and thawed in the refrigerator)
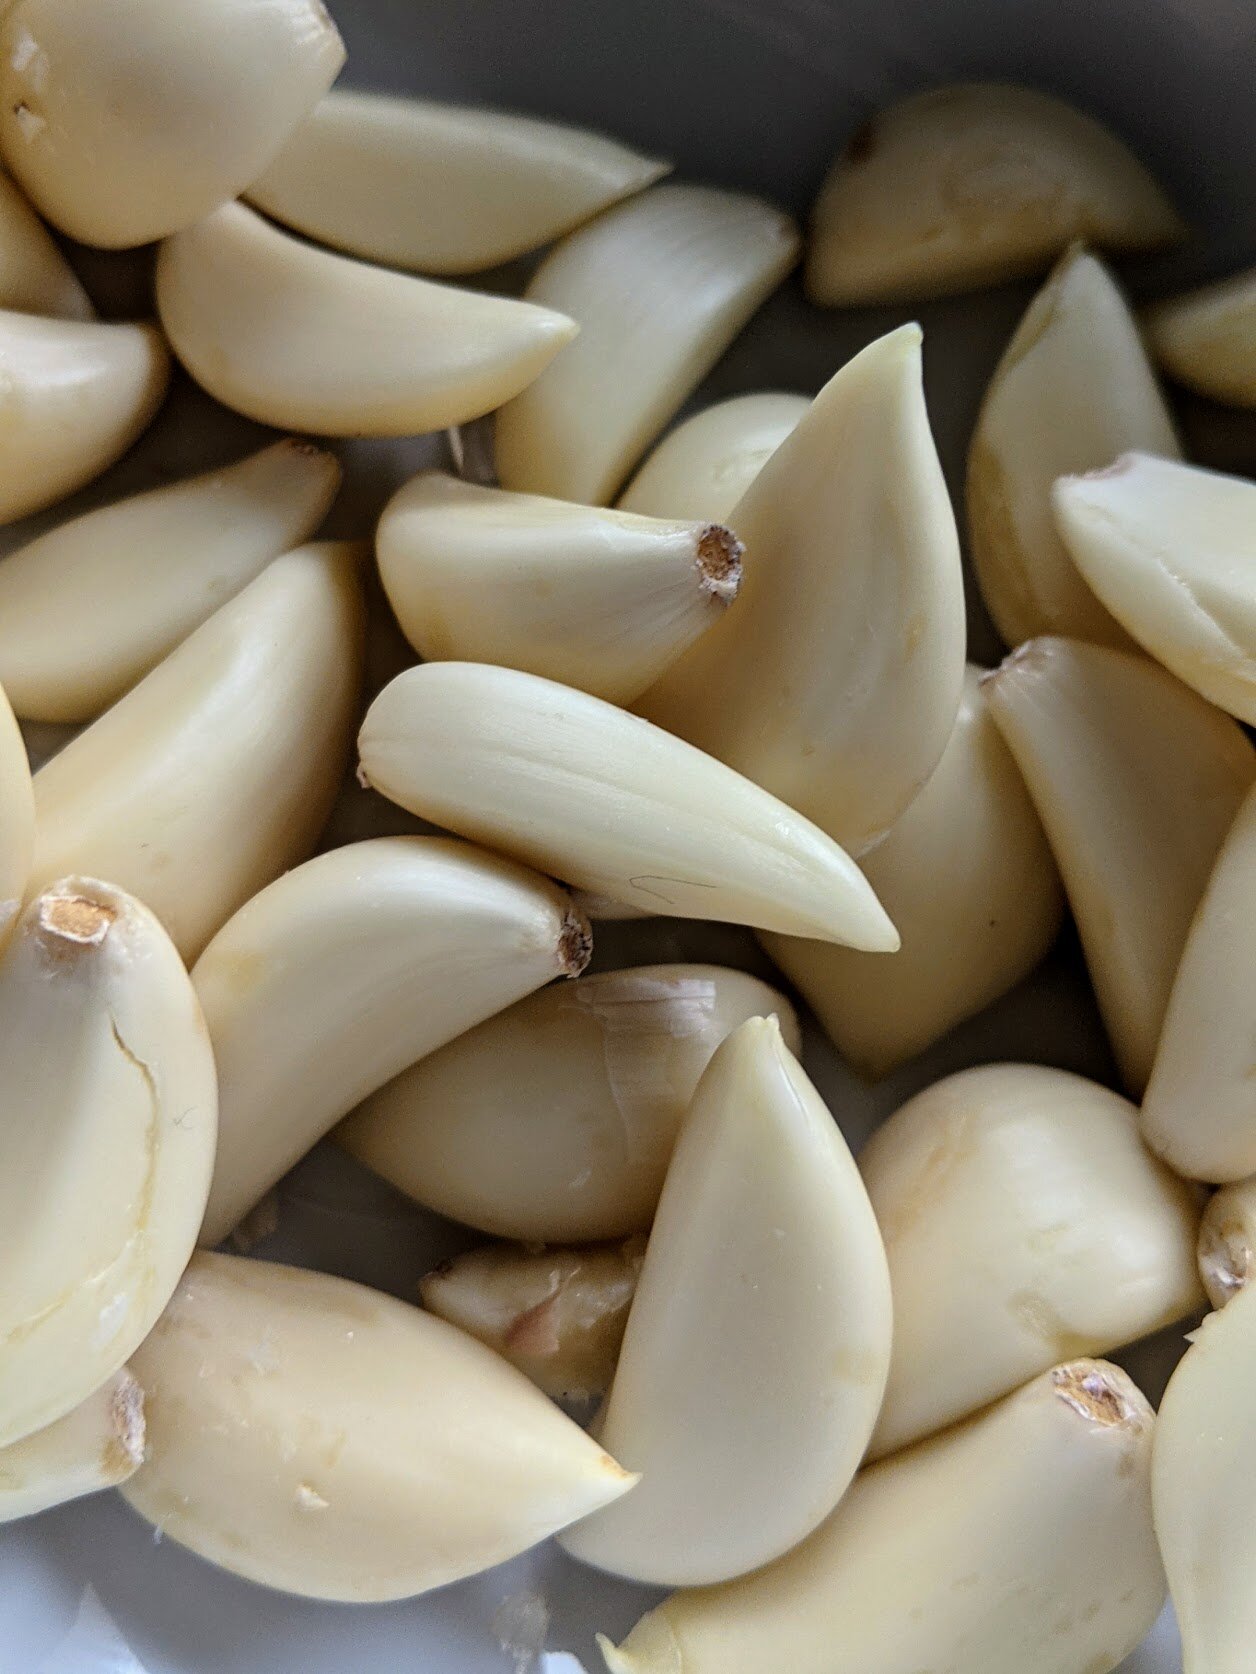
Garlic - 3 heads, cloves separated and peeled
Olive oil - 1 tbsp
Balsamic vinegar - 1 tbsp
Sugar - 3/4 tbsp
Rosemary - 1 tsp, chopped
Thyme - 1 tsp, chopped
Chevre or other soft, creamy goat cheese - 4.5 oz
Goat gouda or other hard, mature goat cheese - 4.5 oz,
Eggs - 2
Heavy cream - 6.5 tbsp
Creme fraiche - 6.5 tbsp
Salt & black pepper
If frozen, thaw your puff pastry in the refrigerator until it’s flexible, about four hours - if it’s too cold, it’ll tear.
Have on hand your 11 inch fluted tart pan, ideally with a loose bottom.
Read this section before you start working with the puff pastry if you’re not experienced: Lightly flour your work surface and rolling pin, then roll out the puff pastry into a circle that can line your tart pan with a little extra hanging over the sides - you can estimate this by placing your tart pan over your pastry and eyeing the size. When you’ve gotten to about the right size, place your rolling pin at the edge of the pastry. Roll the pin towards the center of the pastry without using pressure, bringing the edge of the pastry with the pin so it loops over it. At the end, part of the pastry should be folded over the rolling pin. This should allow you to lift the pastry with little pressure, reducing the risk of tearing. Lift the rolling pin over your tart pan and place the pastry in the pan. Gently press the pastry down into the bottom and sides of the pan. A little overhang is fine, but trim any very excessive pastry hanging out of the pan with some kitchen scissors.
Cover the pastry with parchment paper and fill the bottom with dried beans or pie weights. Let this rest in the refrigerator for 20 minutes, and preheat the oven to 350°F. (This is usually when I start peeling garlic!) After it’s rested, put the pastry in the oven and cook for 20 minutes, then remove the weights and paper and cook for an additional 5-10 minutes, until the pastry has turned golden. Set the pastry aside. Leave the oven on.
While the pastry is baking, put the garlic cloves in a small pan and cover with water. Bring this to a simmer and blanche the garlic cloves for three minutes, then drain. Dry the pan and put it on high heat. Return the garlic cloves to the pan and add the olive oil, frying for 2 minutes. Add the balsamic vinegar and 1 cup of water and bring to a gentle simmer for 10 minutes. Add sugar, rosemary, thyme, and 1/4 teaspoon of salt. Continue simmering for another 10 minutes. Remove from heat when the garlic cloves are coated in a dark syrup and most of the liquid has evaporated.
Final component: the custard. In a medium bowl whisk together eggs, heavy cream, crème fraiche, 1/2 teaspoon of salt, and some black pepper.
Return to your pastry shell for assembly. Crumble the soft and hard goat cheeses into the tart, distributing evenly around the shell. Pour the garlic and its syrup over the cheese. Pour the custard over the cheese and garlic, although you may not need all of it - you still want to see the garlic and cheese poking through the top.
When you’re ready to put the tart in the oven, reduce oven temperature to 325°F. Place tart in oven and bake for 35-45 minutes. The tart filling should be set and the top should be golden. Garnish with thyme sprigs if you’d like, and serve warm.
Goat Cheese & Roasted Garlic Toasts
We’ve been enjoying a lot of rich, meaty foods recently (see: bolognese, beef stew), but with warmer weather peeking through - including an incredible 70°F March birthday, thank you thank you - it felt time to go for something a little lighter. We’re not quite at zucchini season, so I turned to winter greens and some pantry staples for support.

We’ve been enjoying a lot of rich, meaty foods recently (see: bolognese, beef stew), but with warmer weather peeking through - including an incredible 70°F March birthday, thank you thank you - it felt time to go for something a little lighter. We’re not quite at zucchini season, so I turned to winter greens and some pantry staples for support.
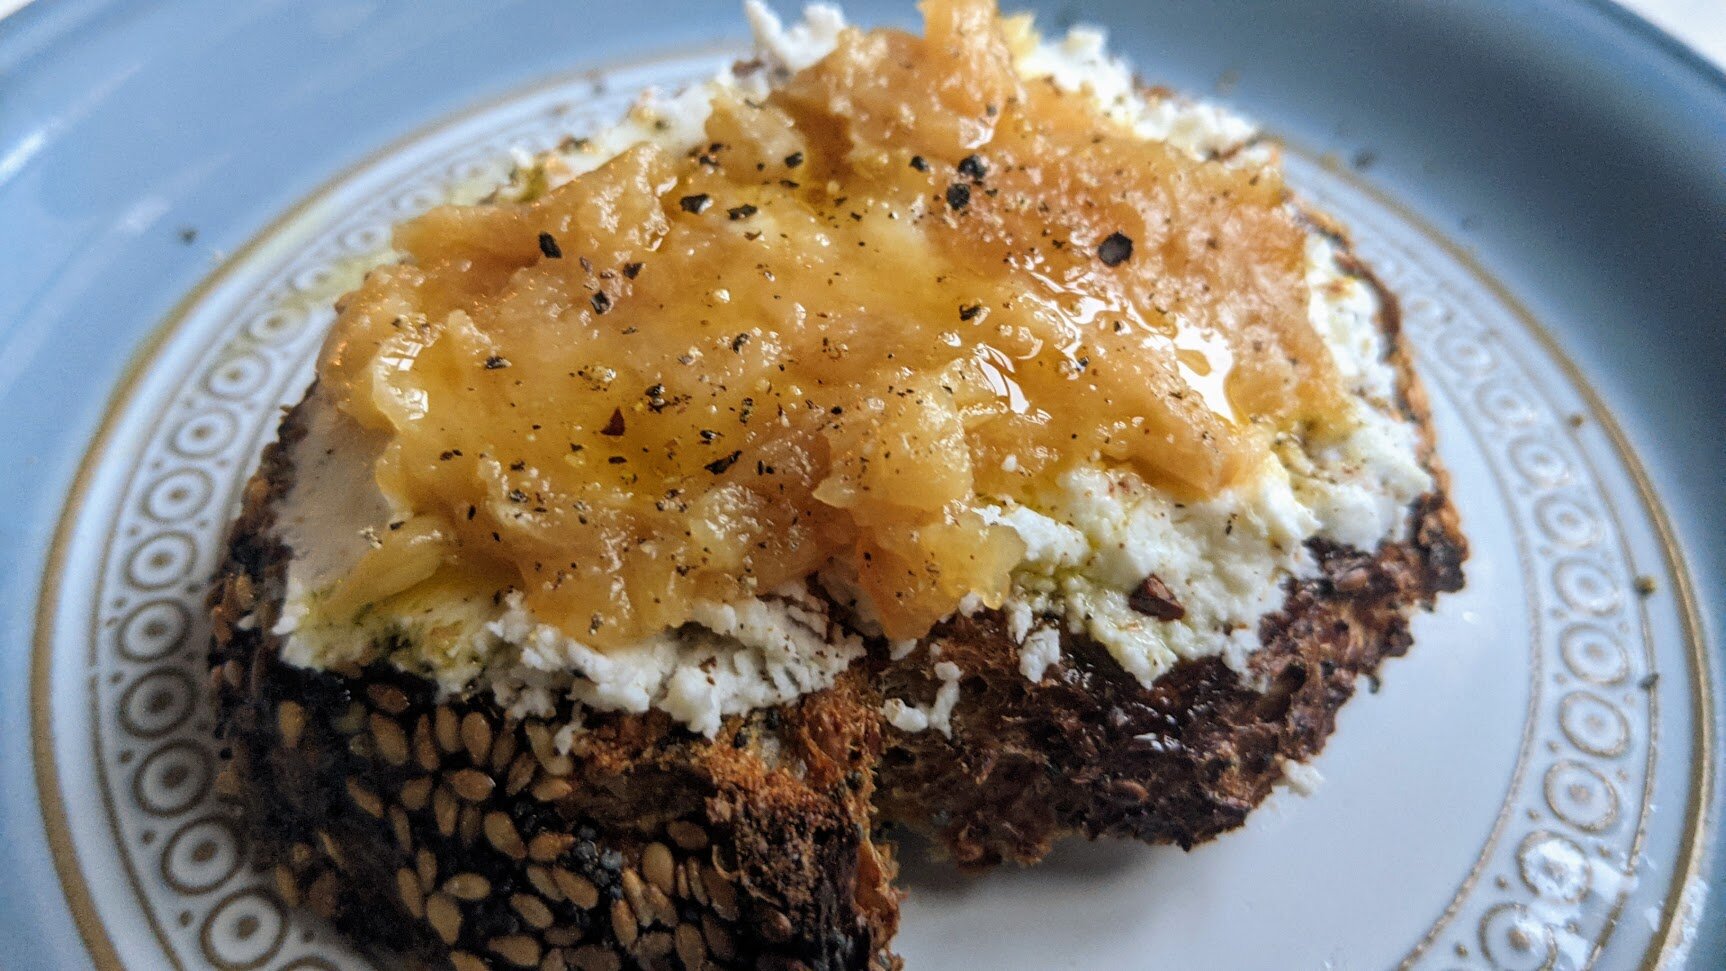
I love garlic. It has a distinct flavor, as vampires can attest, but it’s so versatile: crush a clove and plop it in a yogurt sauce for subtle flavor, grate it into a dressing for a spicy punch, mince it with onions as a base for tomato sauce. Or, in this case, mellow it out to sweetness with a long roast and eat it directly out of its crinkly skins.


This toast is super simple and easy to prep ahead of time - and actually, you eliminate most of the prep if you just arrange the ingredients for a make-it-yourself experience. The garlic heads can be roasted anytime the day you’re planning to eat, making it easy to snag five minutes to get them in the oven. I used a seeded sourdough for this, but most toasted bread would work - I like having them be sort of crostini sized for easy assembly and consuming.


This is great for lunch with a salad, or bulk it out for dinner with more antipasti items, like raw or roasted vegetables, cured meats, olives, and, of course, wine.
Goat Cheese & Roasted Garlic Toasts
Time: 15 minutes active, 1 hour roasting || Servings: your call
Garlic heads - 1 per person
Olive oil
Goat cheese - 1-2 oz per person
Good bread, such as a baguette
Herbs, such as thyme or rosemary - optional
Salt & pepper
Roast the garlic. This can be done anytime the day you’re planning to eat. Heat the oven to 400°F. Slice about a half inch off the top of the garlic heads - the top of the garlic cloves should be visible. If not, slice a little more. Discard the tops. Place the garlic heads in a baking dish, cut side up. Drizzle the top lightly with olive oil and sprinkle with salt. Fill the baking dish about a quarter inch deep with water and cover tightly with foil. Roast in the oven for 45 minutes to 1 hour. When done, remove from the oven and remove the foil; the garlic should be soft and creamy. The garlic can sit at room temperature in its papery skin until you’re ready to use it.
When you’re closer to eating, put the goat cheese out to come to room temperature - this makes it easier to spread. Finely chop the herbs, if using, and combine with the goat cheese.
Cut the bread into pieces that are easy to pick up - slices for a baguette, or 1.5 inch squares for a boule. Toast the bread lightly.
You can assemble the toasts to serve, but I like putting all of the components out to let people assemble their own. This is how I assemble mine: I spread the goat cheese over the toast, then gently squeeze the bottom of the garlic cloves - they should squish right out. I spread the garlic over the goat cheese, then drizzle it with olive oil and sprinkle with chunky salt and a few grinds of black pepper.