
Ottolenghi’s Garlic Tart
There are some weeks that demand comfort food. Also possibly a small kitchen project to distract from endlessly refreshing my news feed. Enter Yotam Ottolenghi’s garlic tart - cloves of garlic simmered in a balsamic syrup with fragrant herbs, layered on top of not one, but two kinds of goat cheese, all bathed in a creamy custard and baked in a crispy puff pastry shell. Sounds like comfort to me.

There are some weeks that demand comfort food. Also possibly a small kitchen project to distract from endlessly refreshing my news feed. Enter Yotam Ottolenghi’s garlic tart - cloves of garlic simmered in a balsamic syrup with fragrant herbs, layered on top of not one, but two kinds of goat cheese, all bathed in a creamy custard and baked in a crispy puff pastry shell. Sounds like comfort to me.


I say this is a project, but really there’s nothing that complicated here. It’s a little time consuming - there are a number of steps - but there are chunks of time between them. You don’t have to be active for the length of the recipe, but you have to be somewhat committed. It requires a fluted tart pan, which feels project-y. And I don’t work with puff pastry that much, and even when I use (perfect good enough) frozen puff pastry, I somehow manage to not be prepared to roll it out and then it gets too warm and chaos ensues. However, I’m happy to report that the puff pastry in this recipe requires minimal manipulation, and its use has the upside that you can use the scraps to make some airy Palmiers to snack on while the custard sets. I’ve included some hard-won tips on how to manage the pastry in the recipe if you, like me, find it a little challenging.


You’ll think you can eat this whole tart when it comes out of the oven looking and smelling gorgeous, and more power to you! But I couldn’t do it - it’s pretty rich. Happily, it keeps well for a couple of days and reheats beautifully - don’t be deterred by the soft pastry, it crisps right up with a little help from the oven.
Ottolenghi’s Garlic Tart
Time: 2 || Servings: 8 || Source: Plenty by Yotam Ottolenghi
Puff pastry - 13 oz (frozen and thawed in the refrigerator)
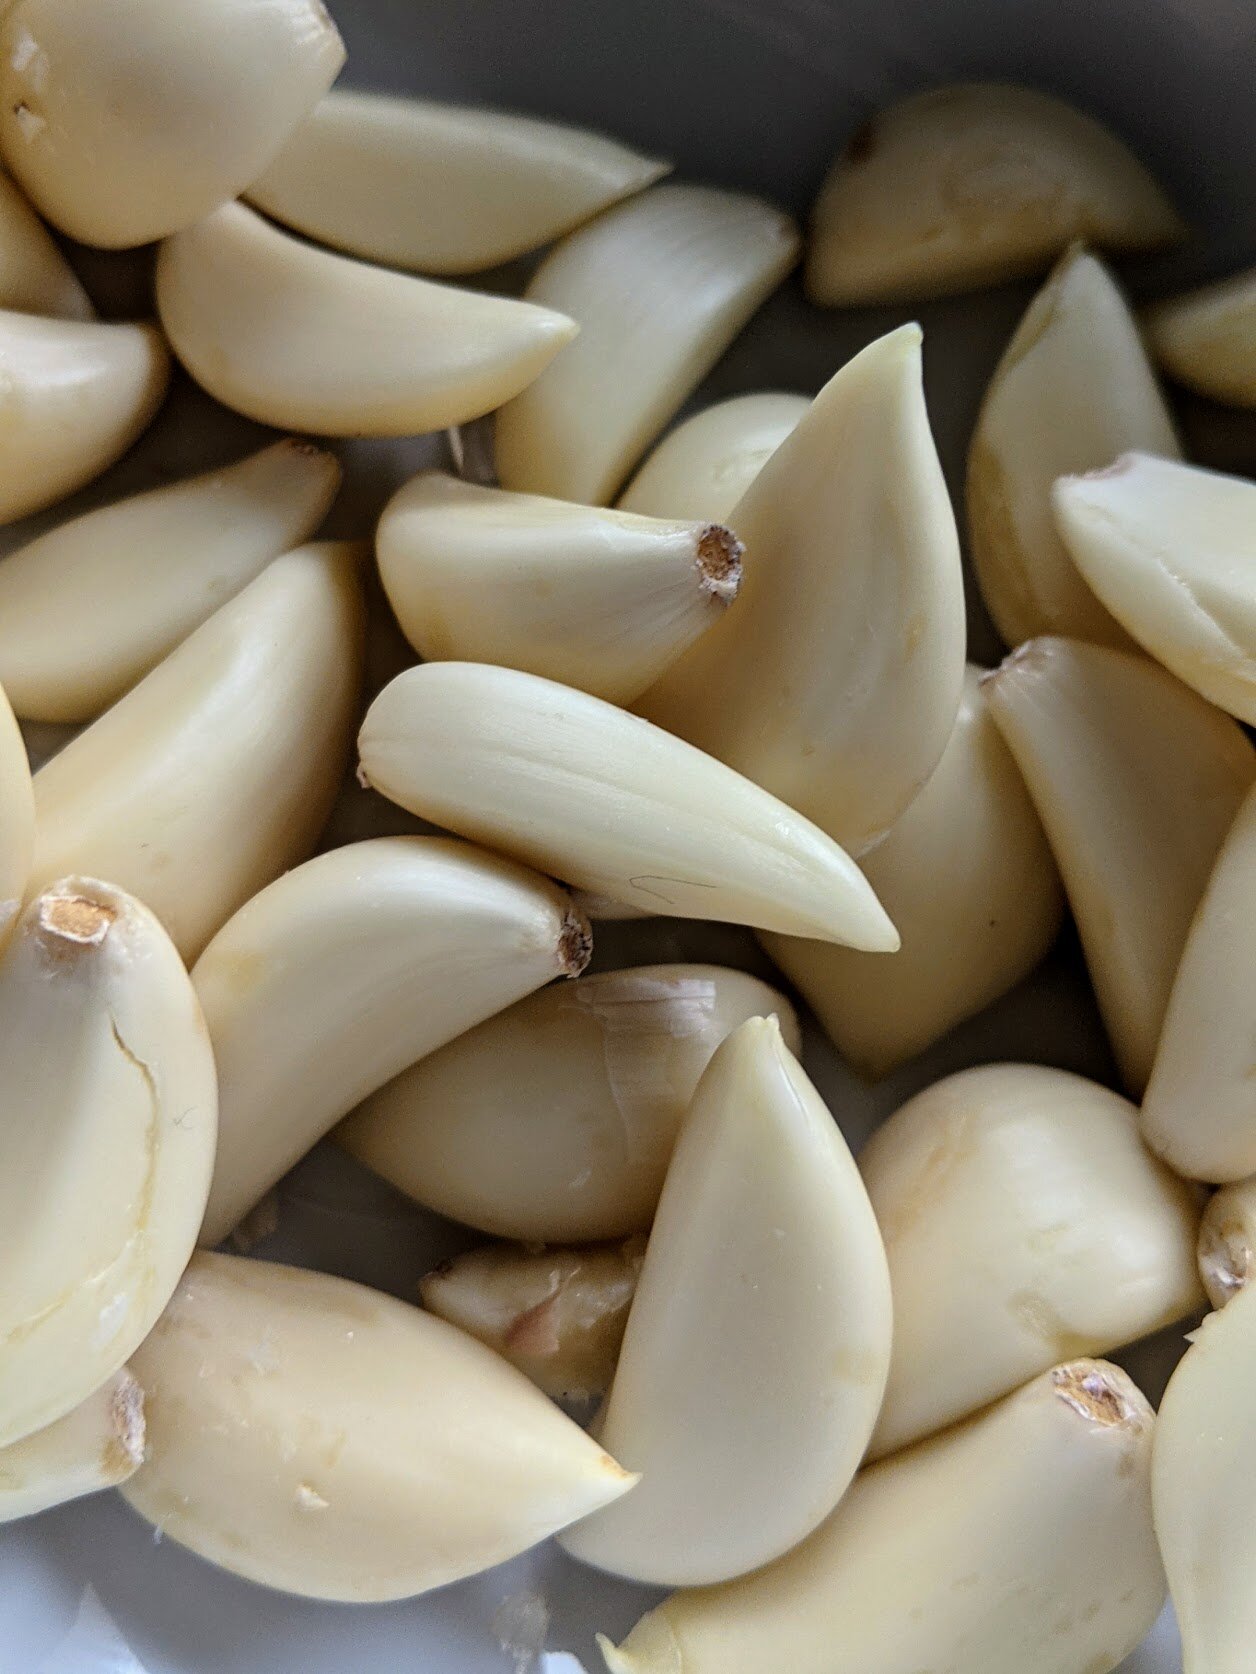
Garlic - 3 heads, cloves separated and peeled
Olive oil - 1 tbsp
Balsamic vinegar - 1 tbsp
Sugar - 3/4 tbsp
Rosemary - 1 tsp, chopped
Thyme - 1 tsp, chopped
Chevre or other soft, creamy goat cheese - 4.5 oz
Goat gouda or other hard, mature goat cheese - 4.5 oz,
Eggs - 2
Heavy cream - 6.5 tbsp
Creme fraiche - 6.5 tbsp
Salt & black pepper
If frozen, thaw your puff pastry in the refrigerator until it’s flexible, about four hours - if it’s too cold, it’ll tear.
Have on hand your 11 inch fluted tart pan, ideally with a loose bottom.
Read this section before you start working with the puff pastry if you’re not experienced: Lightly flour your work surface and rolling pin, then roll out the puff pastry into a circle that can line your tart pan with a little extra hanging over the sides - you can estimate this by placing your tart pan over your pastry and eyeing the size. When you’ve gotten to about the right size, place your rolling pin at the edge of the pastry. Roll the pin towards the center of the pastry without using pressure, bringing the edge of the pastry with the pin so it loops over it. At the end, part of the pastry should be folded over the rolling pin. This should allow you to lift the pastry with little pressure, reducing the risk of tearing. Lift the rolling pin over your tart pan and place the pastry in the pan. Gently press the pastry down into the bottom and sides of the pan. A little overhang is fine, but trim any very excessive pastry hanging out of the pan with some kitchen scissors.
Cover the pastry with parchment paper and fill the bottom with dried beans or pie weights. Let this rest in the refrigerator for 20 minutes, and preheat the oven to 350°F. (This is usually when I start peeling garlic!) After it’s rested, put the pastry in the oven and cook for 20 minutes, then remove the weights and paper and cook for an additional 5-10 minutes, until the pastry has turned golden. Set the pastry aside. Leave the oven on.
While the pastry is baking, put the garlic cloves in a small pan and cover with water. Bring this to a simmer and blanche the garlic cloves for three minutes, then drain. Dry the pan and put it on high heat. Return the garlic cloves to the pan and add the olive oil, frying for 2 minutes. Add the balsamic vinegar and 1 cup of water and bring to a gentle simmer for 10 minutes. Add sugar, rosemary, thyme, and 1/4 teaspoon of salt. Continue simmering for another 10 minutes. Remove from heat when the garlic cloves are coated in a dark syrup and most of the liquid has evaporated.
Final component: the custard. In a medium bowl whisk together eggs, heavy cream, crème fraiche, 1/2 teaspoon of salt, and some black pepper.
Return to your pastry shell for assembly. Crumble the soft and hard goat cheeses into the tart, distributing evenly around the shell. Pour the garlic and its syrup over the cheese. Pour the custard over the cheese and garlic, although you may not need all of it - you still want to see the garlic and cheese poking through the top.
When you’re ready to put the tart in the oven, reduce oven temperature to 325°F. Place tart in oven and bake for 35-45 minutes. The tart filling should be set and the top should be golden. Garnish with thyme sprigs if you’d like, and serve warm.

Plum Torte
As a baker, there are two things I absolutely love: 1) a recipe simple enough that I can remember it, not in small part because it makes me feel like a bonafide baker and not a hobbyist, and 2) a gorgeous end product that makes people think it took me all day to make it. Finding both of those things in a single recipe is kind of amazing.

As a baker, there are two things I absolutely love: 1) a recipe simple enough that I can remember it, not in small part because it makes me feel like a bonafide baker and not a hobbyist, and 2) a gorgeous end product that makes people think it took me all day to make it. Finding both of those things in a single recipe is kind of amazing.
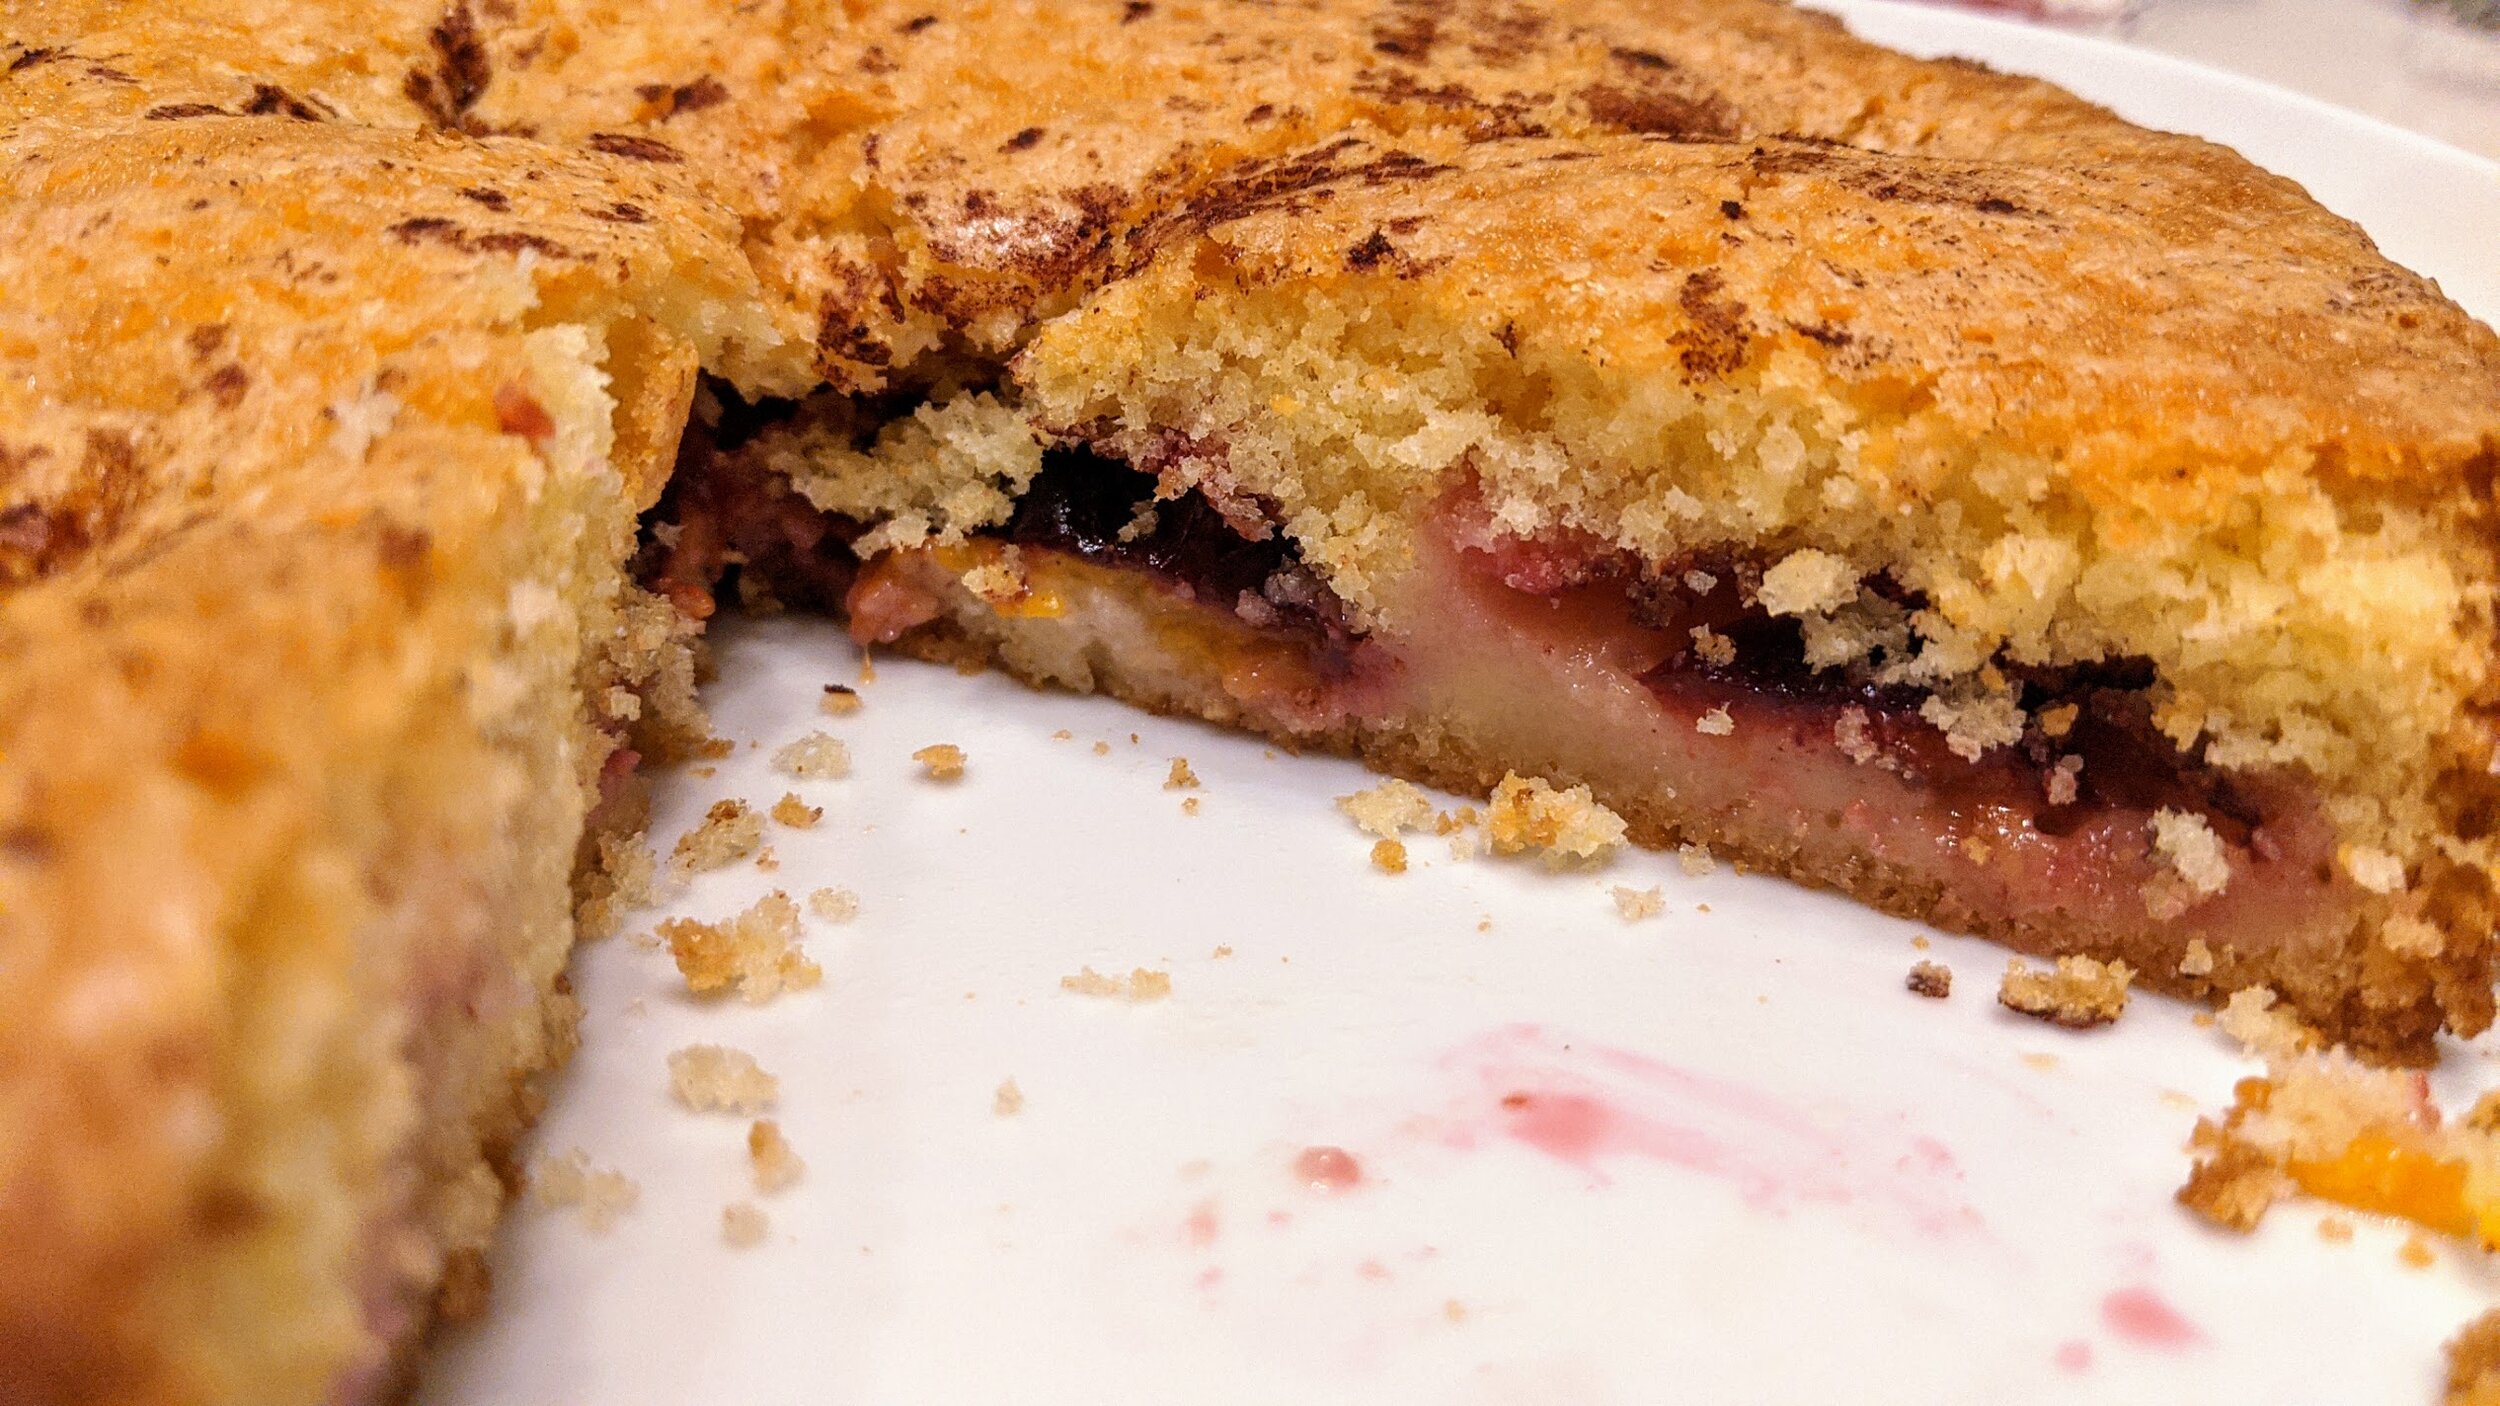
It’s no surprise that, meeting both of these criteria, Marian Burros’s recipe for a gorgeous plum torte has been printed in the New York Times annually since 1983. It’s absolutely delicious and forgivingly versatile - any seasonal fruit will work with this beautiful batter, and you can mix up the spices or add herbs to suit your tastes and your pantry. Ms. Burros calls for an 8", 9”, or 10” pan and you don’t even have to grease it!


The most effort you have to put into this recipe is halving the plums. Look for the indent along the side of the plum, and run your knife along that until you’ve gone around the whole plum. Twist the two halves, and the plum will come apart. The pit should be in one half, flat side facing you. Wiggle a knife underneath the pit to remove it - or go crazy and use your fingers to pry it out.
I hope you can take a few minutes to make this incredibly easy classic dessert (…or breakfast?) to welcome the autumn season.
Plum Torte
Time: 15 minutes active, 1 hour baking || Servings: 8 || Source: Marian Burros, New York Times
Sugar - 3/4 cup
Unsalted butter - 1/2 cup (one stick), room temperature
All purpose flour - 1 cup
Baking powder - 1 tsp
Eggs - 2
Purple plums - 24, halved and pitted
Lemon juice, sugar, and cinnamon for topping
Heat oven to 350°F.
In a large bowl, cream together the butter and sugar. Sift in the flour, then add baking soda, eggs, and a pinch of salt. Mix well.
Pour batter into a springform pan between 8 and 10 inches and smooth. No need to grease the pan.
Top batter with plums as densely as possible. With a 10 inch pan, I didn’t use all 24 plums (which was great, I made a second torte!). Sprinkle the top with lemon juice, sugar, and up to a teaspoon of cinnamon. If your plums are very sweet, you may want more lemon juice and less sugar; if they are tart, you may want more sugar and less lemon juice.
Bake torte for 1 hour, checking in the last ten minutes. It’s done when it’s lightly browned and the plums are jammy and sunk into the cake. Cool and remove from pan. Serve warm or at room temperature. This also freezes well; reheat at 300°F for 10-15 minutes.

Corn Jalapeño Muffins
Buying a farm share has so many benefits: we support local food, a local business, local people, plus we eat healthfully and deliciously ourselves. But the downside is that you get a LOT of whatever’s in season and growing well at the farm. Which, in this case, means lots and lots of corn.

I’m going to blow your mind in a couple days with a killer catfish recipe. But first I have to talk about corn.
I have so much corn.
Buying a farm share has so many benefits: we support local food, a local business, local people, plus we eat healthfully and deliciously ourselves. But the downside is that you get a LOT of whatever’s in season and growing well at the farm. Which, in this case, means lots and lots of corn.
I’m getting into the farm share rhythm and slowly but steadily learning how to put away those summer flavors for the darker and sparser wintertimes. (Yes, winter is coming.) I made some delicious, bright plum tomato sauce that will just scream summer when I rediscover it in my freezer in January. And instead of wondering what to do with another amazing, fragrant bunch of basil, I made a quick and dirty pesto that has been my go to snack with bread all week.
I have to admit, though, that I am having an absolute drought of creativity when it comes to corn. I know I can cut the kernels off the cob and freeze them straight, but that seems a little pathetic, and what will I do with it this winter anyway?
So I turned to my local newspaper and I found a recipe for corn jalapeno muffins and I can’t lie, I was pretty excited. I like spicy food, but my partner LOVES spicy food. And anything that will mercifully take two whole cobs of corn off my hands is very much in my wheelhouse right now.


I made a few modifications to this recipe to turn it into the corn-using muffins of my dreams. I reduced the butter by a couple of tablespoons, which allowed me to add butter directly to the cooked muffin with limited guilt. (I also melted it in the same pan as the corn jalapeño mixture, because… why?) I doubled the jalapeño because - as mentioned - the partner loves spice. I made a full muffin style version of these, rather than the mini-muffins the recipe suggests. And, of course, I added a little more corn that was strictly necessary.
The batter ended up so light and airy that I felt like I should fold the corn, jalapeño, and cheese into it rather than mix - but this sort of delicacy is unnecessary. Give it a try -- you too will end up with muffins that are moist and spicy with pops of texture from the sweet corn kernels.
Corn Jalapeno Muffins
Yield: 18 muffins || Time: 45 minutes || Adapted from: The New York Times
Butter - 4 tbsp
Corn kernels - raw from a fresh corn cob, or chopped frozen corn
Jalapeño - 2
Flour - 1 cup
Cornmeal - 1 cup
Baking powder - 1.5 tsp
Baking soda - 1.5 tsp
Eggs - 2, beaten
Buttermilk - 1.5 cups
Sharp cheddar or gruyere cheese - 3 ounces or 85 grams
Heat the oven to 400°F and butter a muffin tin.
In a small skillet, heat butter over medium low heat. Add corn and jalapeño, season lightly with salt and pepper, and sauté for a couple of minutes to soften.
In a medium bowl, whisk together flour, cornmeal, baking powder, and baking soda. Add eggs and buttermilk and mix. Add corn jalapeño mixture, followed by the cheese.
Fill muffin tin with batter until about 3/4 full. Bake for 15-20 minutes or until a tester comes out clean.